Replacing a SCSI enclosure power supply
by Brendan Shanks
Around 15 years ago, my grandparents gave me an external 12X SCSI CD-ROM drive that I believe they got from a garage sale. I’ve used it rarely in the years since: the most notable being to install OS X (back when it came on CDs) on our beige G3 after having to replace the internal CD drive with a 3rd-party one.
I recently started using the enclosure again with my classic Macs (for copying data off of old HDs, etc) but the enclosure developed a power supply problem. The power supply would put out a nominal +5V and +12V with no load, but under load the +5V drooped to +4.5V and drives wouldn’t work.
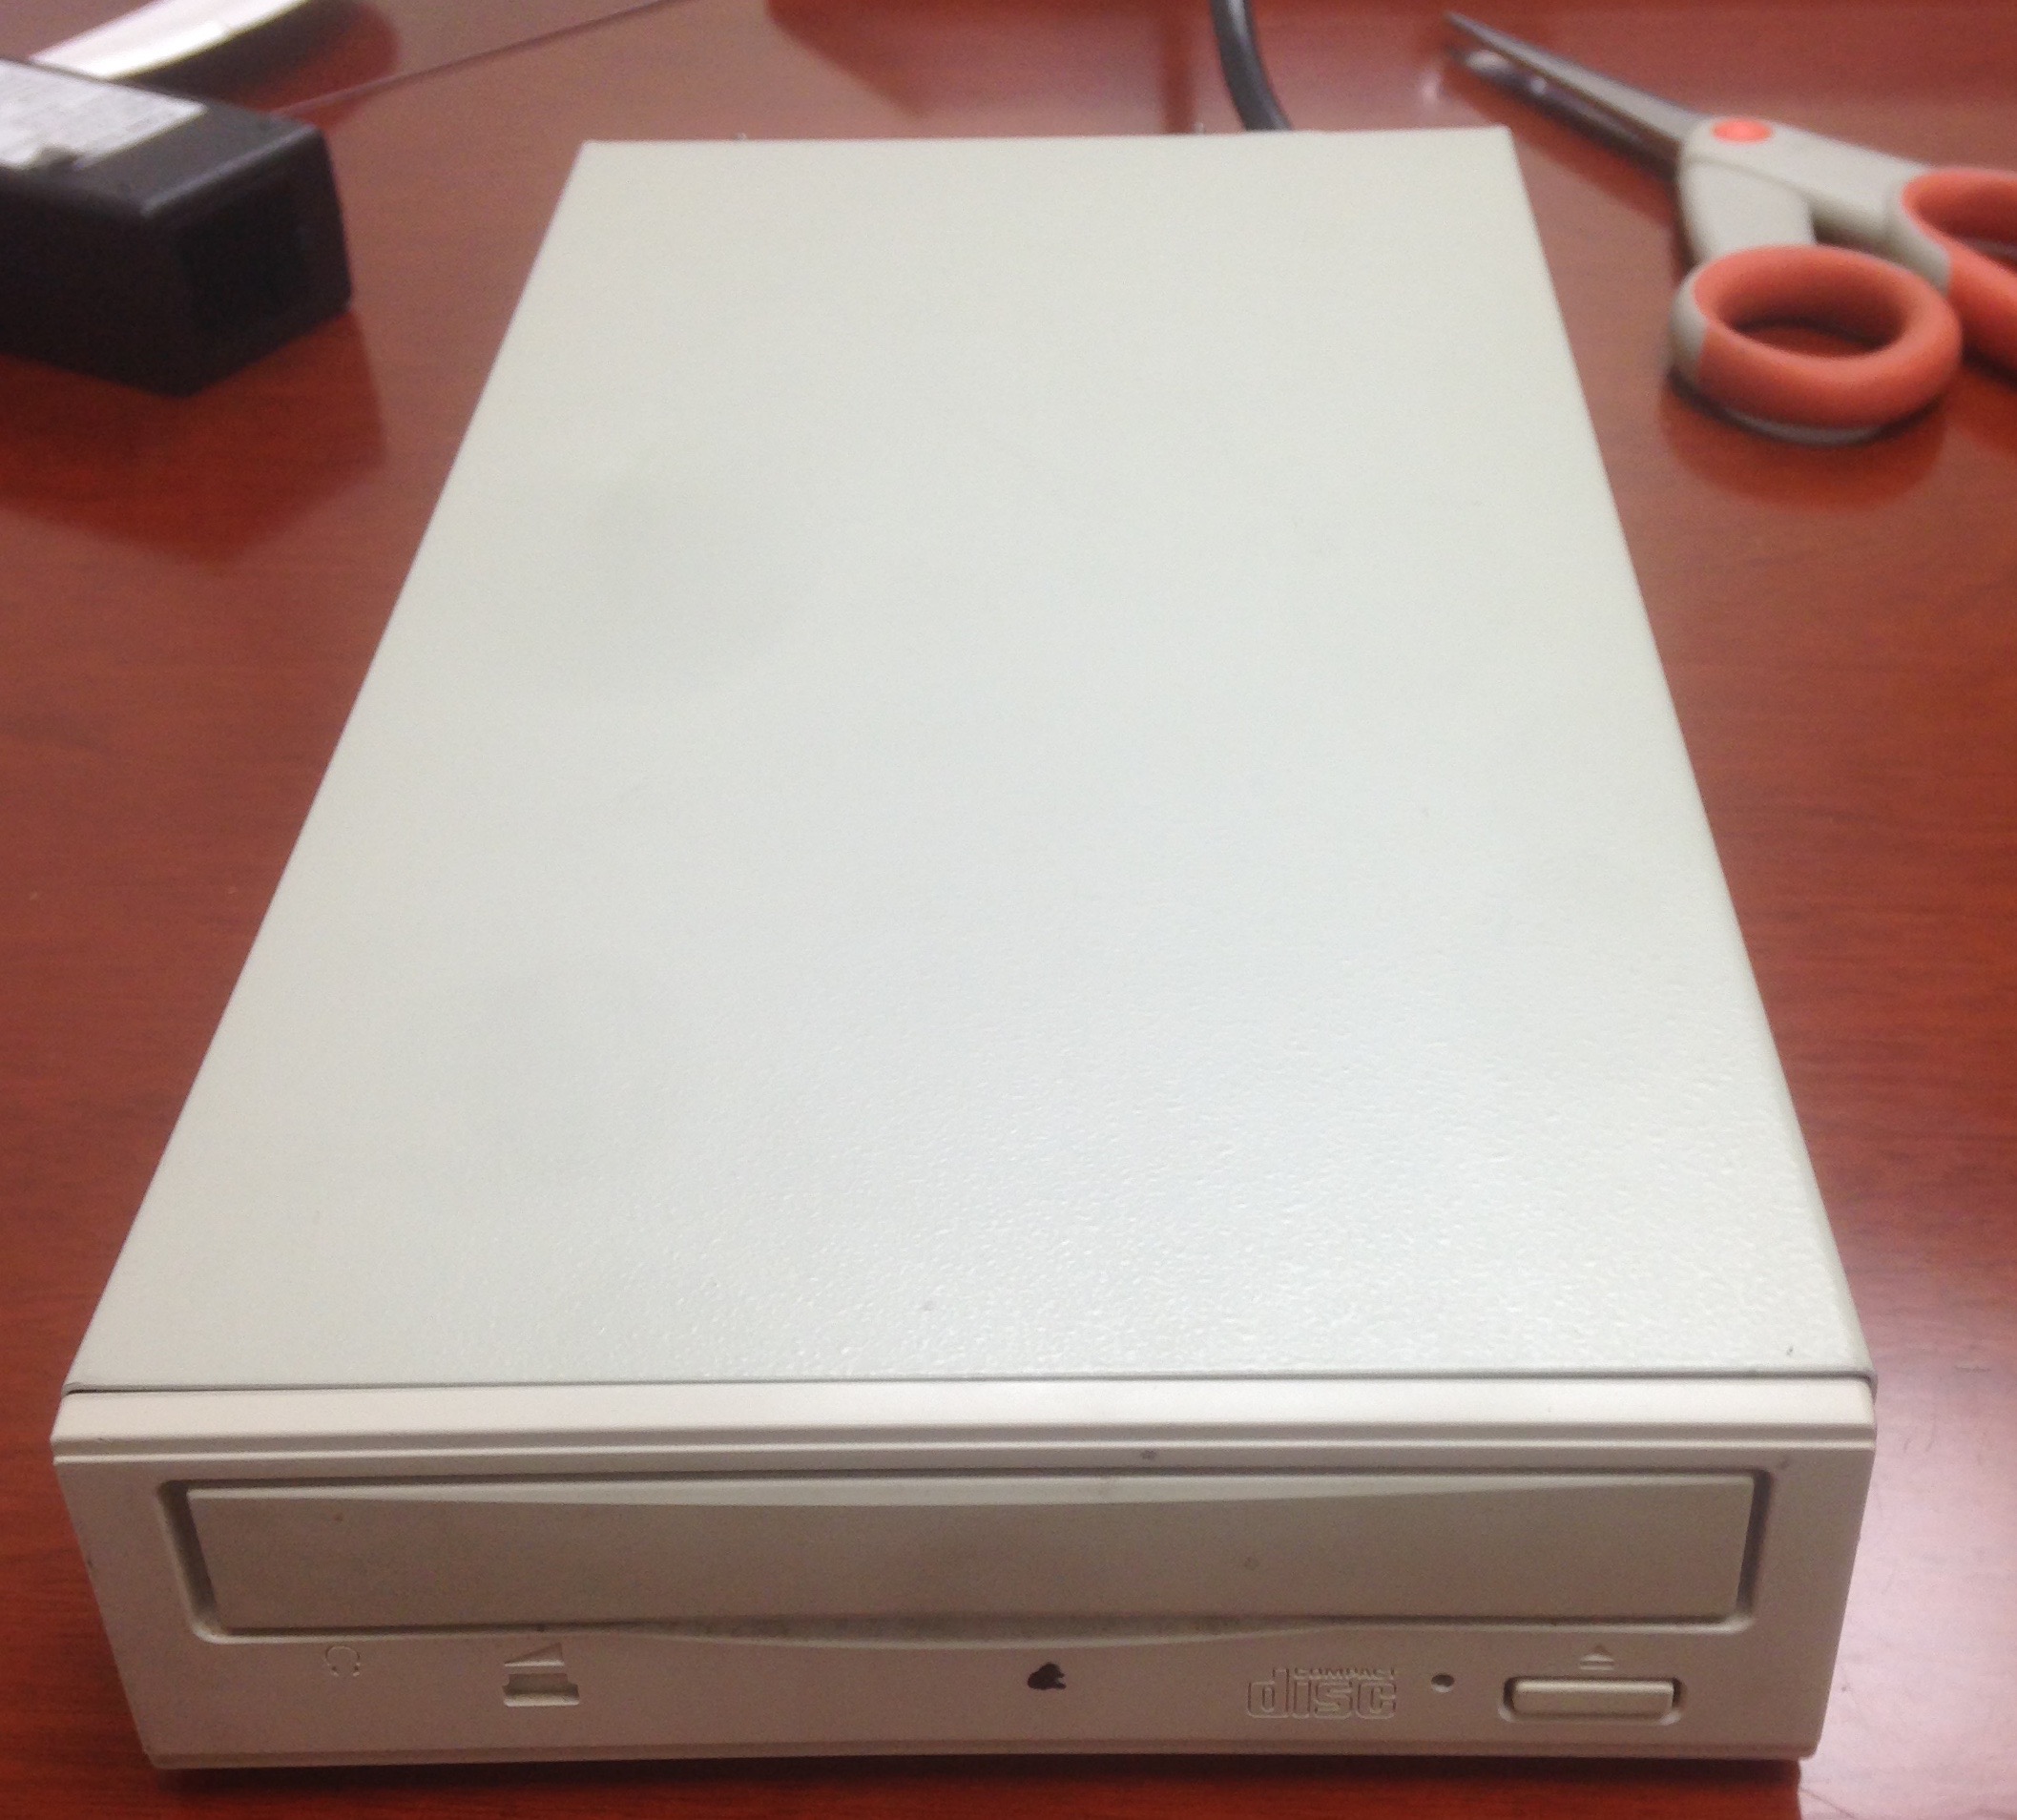
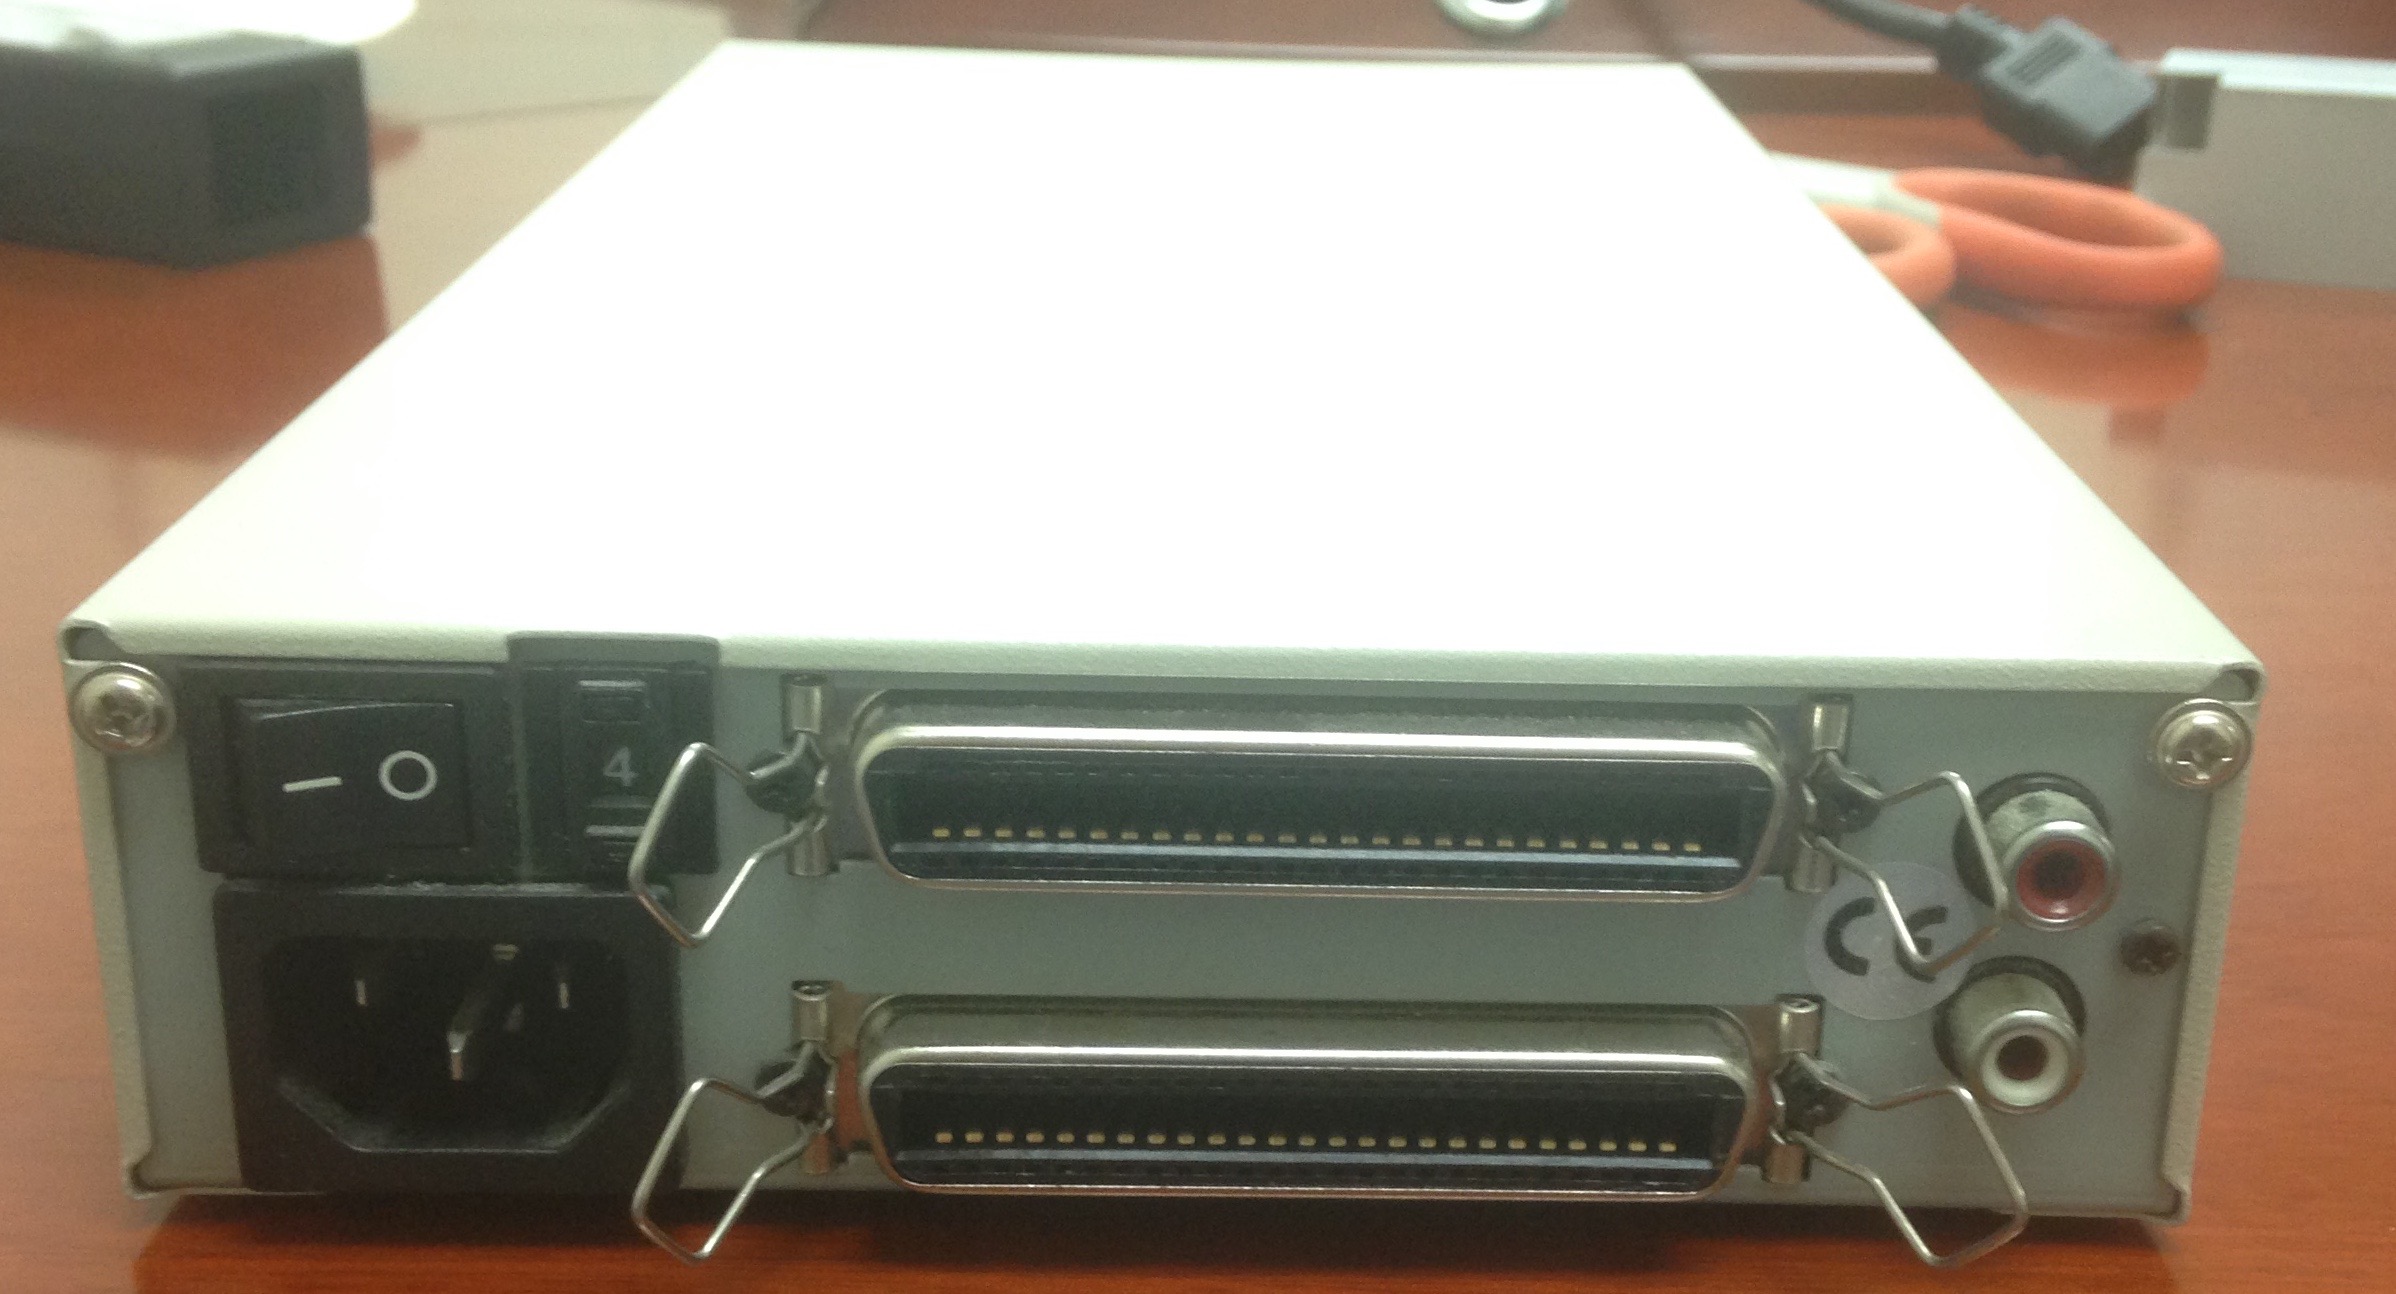
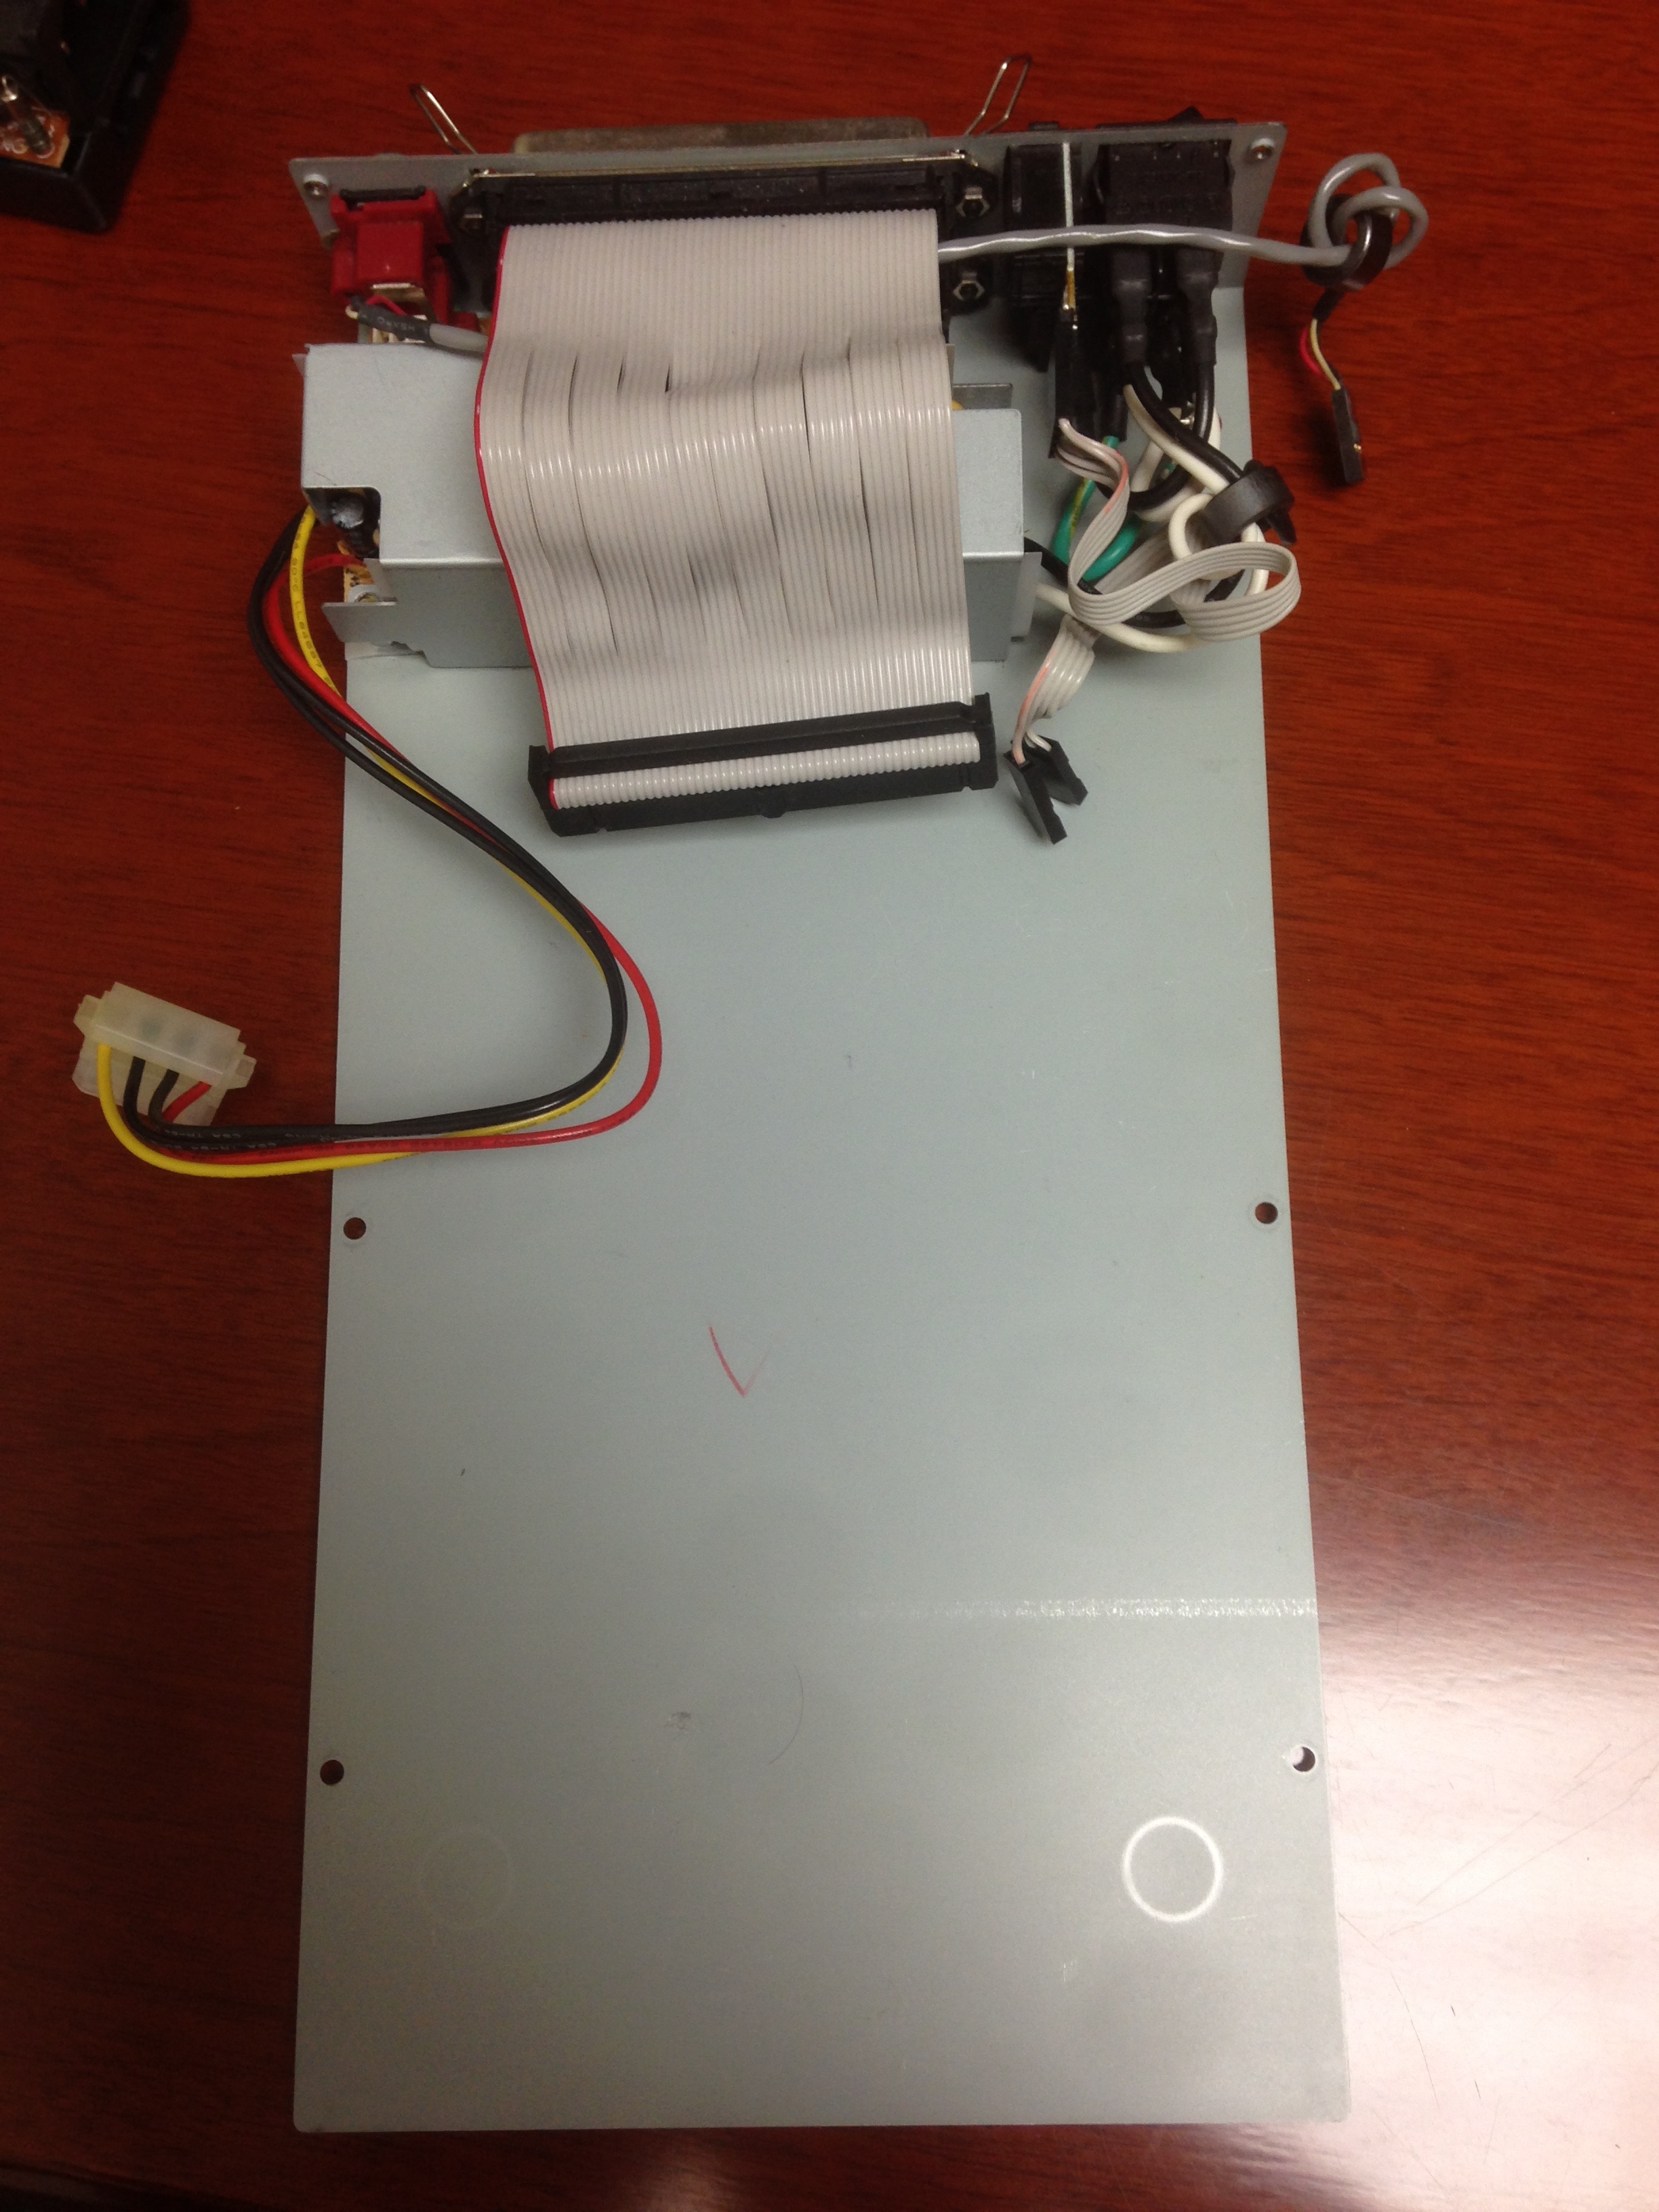
The enclosure is a very basic 5.25” external SCSI enclosure, with the power supply, rear ports, drive, and then top cover all being screwed to a baseplate. The only info I have about the enclosure is an FCC ID of KN4CD5371, which matches up to a “Dura Micro Inc” in Pomona, CA from October 1995. Internally it uses a Pioneer DR-466 12X tray-loading CD-ROM drive, and an Asian Power Devices Inc. APD-9505 power supply capable of +5V/1A and +12V/1A.
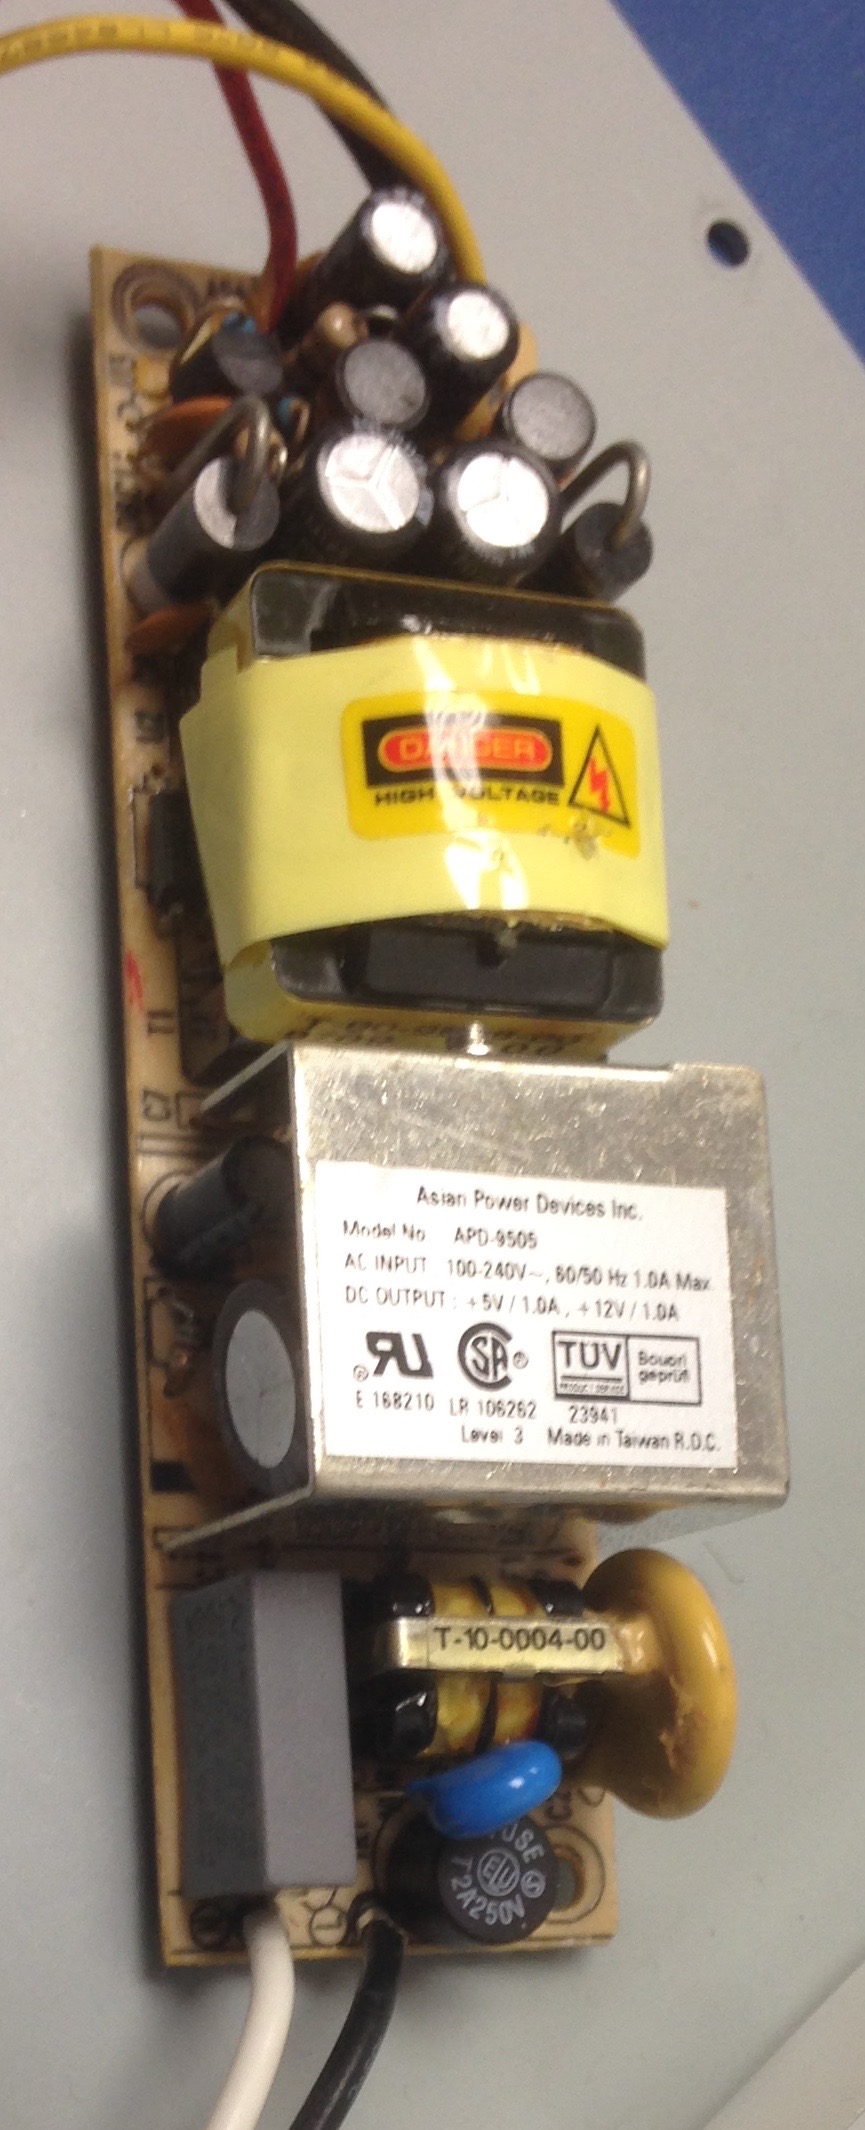
I took the power supply out, it’s quite small and sandwiched between the back of the drive and the vertical plate for connectors. None of the capacitors looked to be bulging or leaking. Without schematics, spare components to start swapping out, or a great understanding of how power supplies work, I didn’t do much troubleshooting on the power supply. Instead, I decided to buy a new one and fit it in.
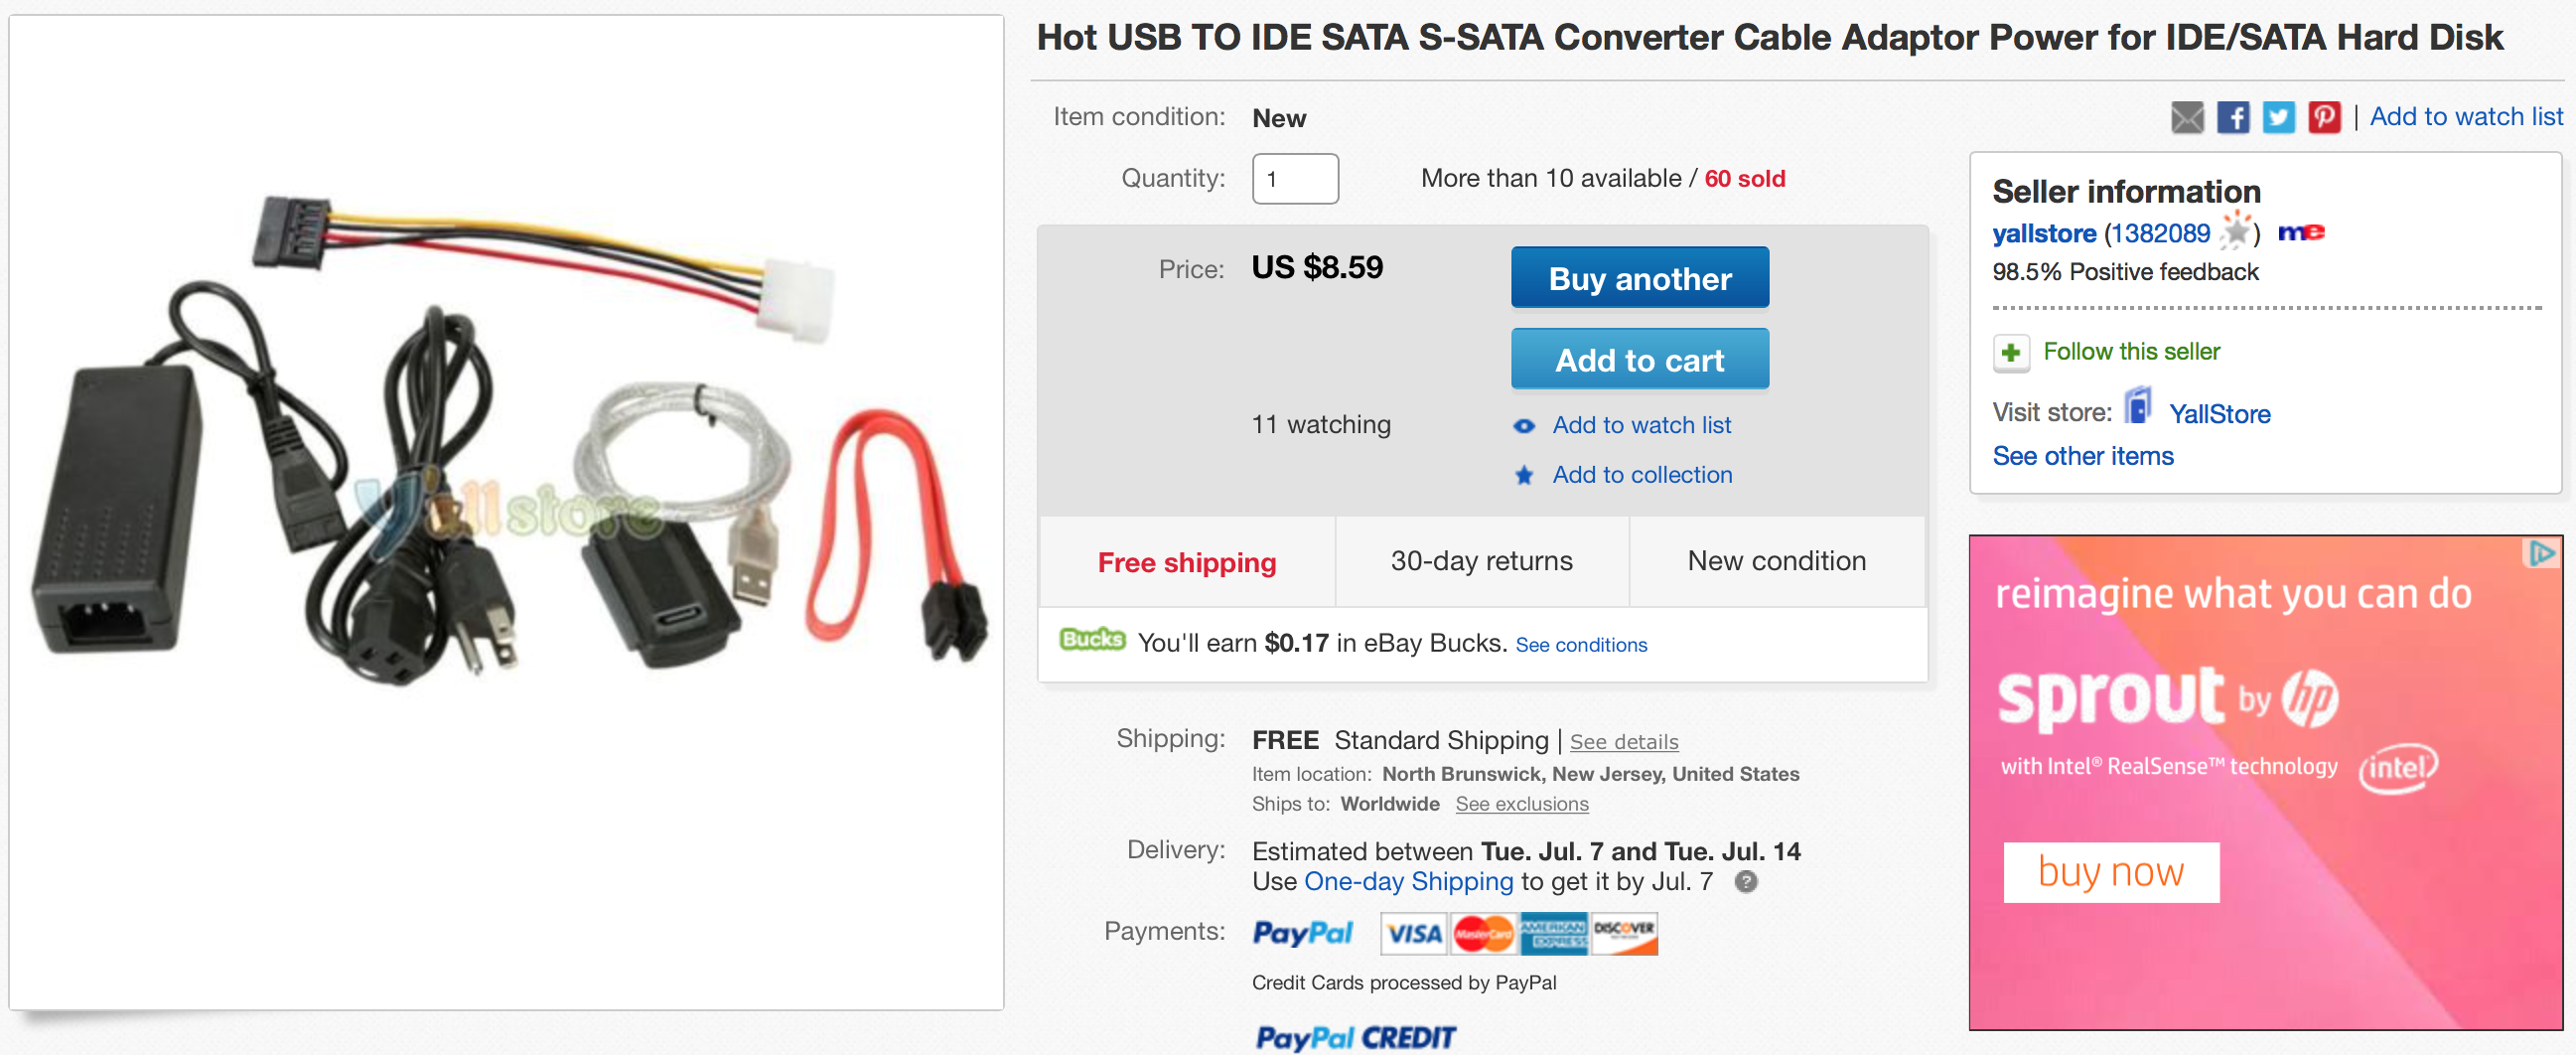
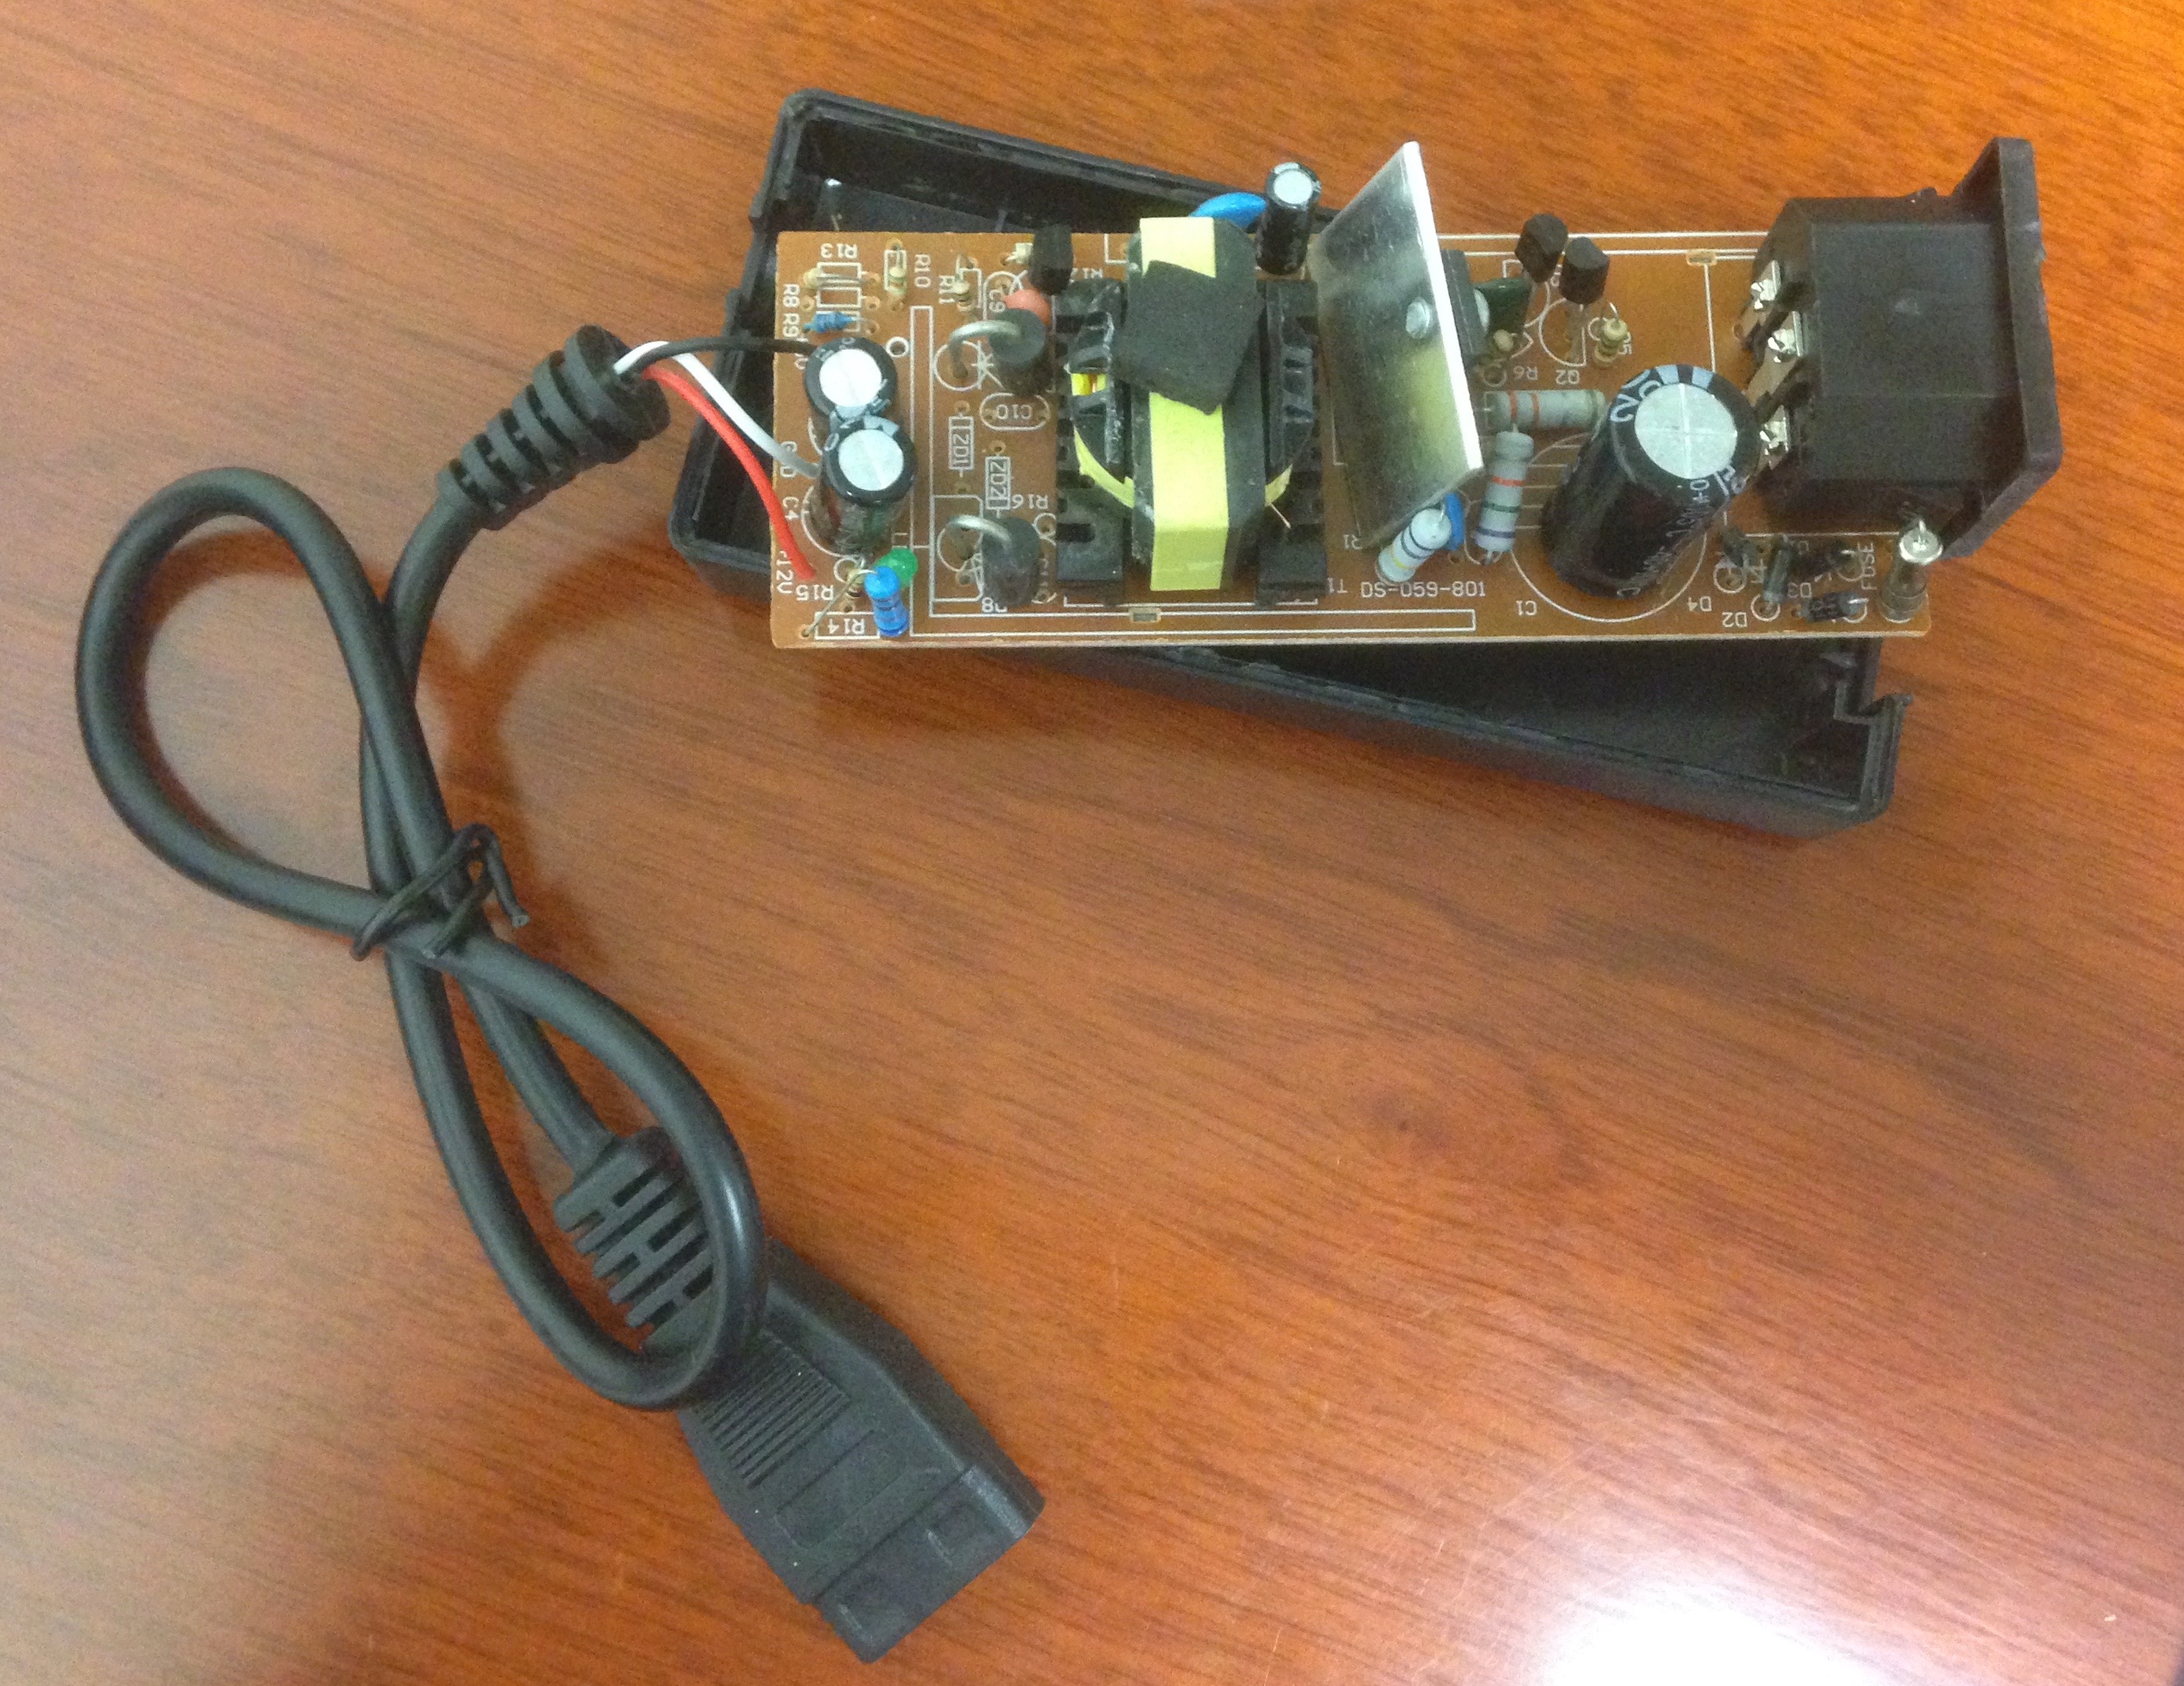
I picked up a Hot USB TO IDE SATA S-SATA Converter Cable Adaptor Power for IDE/SATA Hard Disk for $9 on eBay, it came with an FZX-PWH125A external power supply (of unknown brand). One side has a standard IEC AC power connector, the other side is a short cable terminating in a standard molex PC power connector and outputs +12V/2A and +5V/2A. Getting the power supply open was not easy, there’s no screws and the plastic case is glued together at the seam. I ended up using channel locks to squeeze the case at the seams and break the halves apart.
Luckily the replacement PSU is almost the same size as the old one, just slightly narrower and deeper (when viewed from the front). The old PSU was mounted on top of standoffs between the drive and the backplate, with a metal cage covering the components and the SCSI ribbon cable going over it.
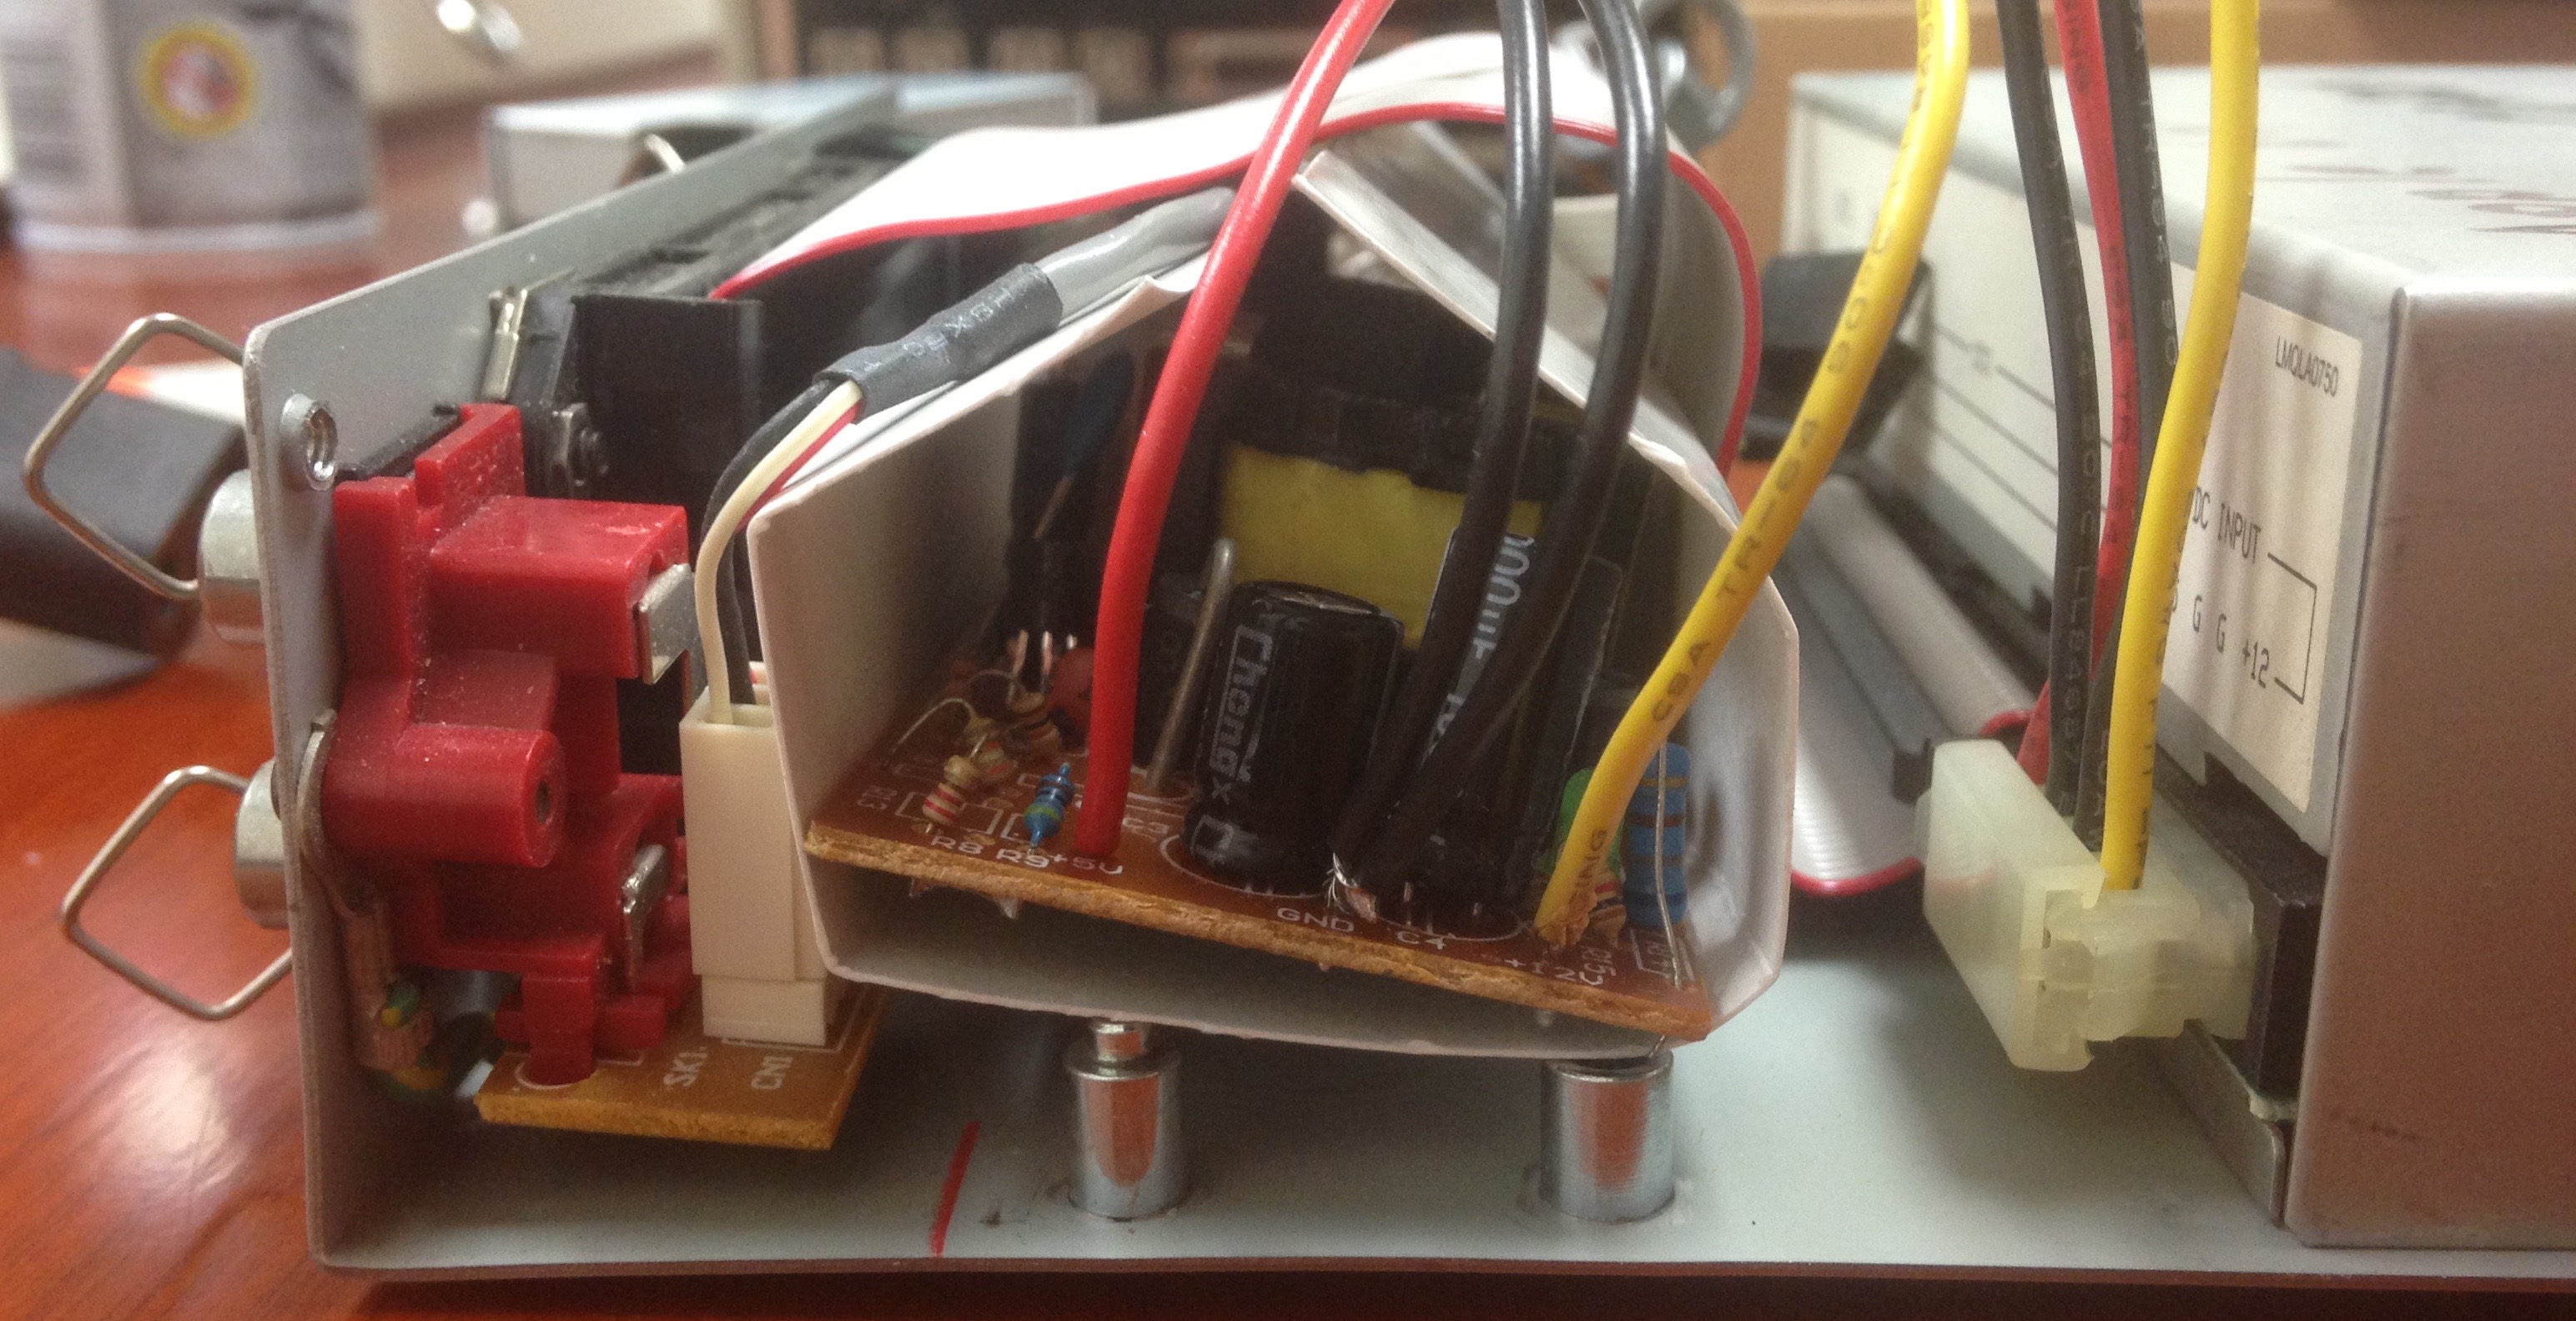
It was simple to de-solder the AC power connector and molex cable from the new PSU, and attach the old PSU’s molex cable and AC power lines. I can’t really mount the new PSU to the case since it doesn’t have any holes to put a screw or cable tie through, but I think it’ll be fine just sitting there. And to cover the components, I cut a square out of a paper plate and folded it around the power supply.
With the new PSU in, the enclosure works great! The original Pioneer CD drive won’t read discs any more, but I picked up an AppleCD 600i off eBay which is working like a charm!
Subscribe via RSS